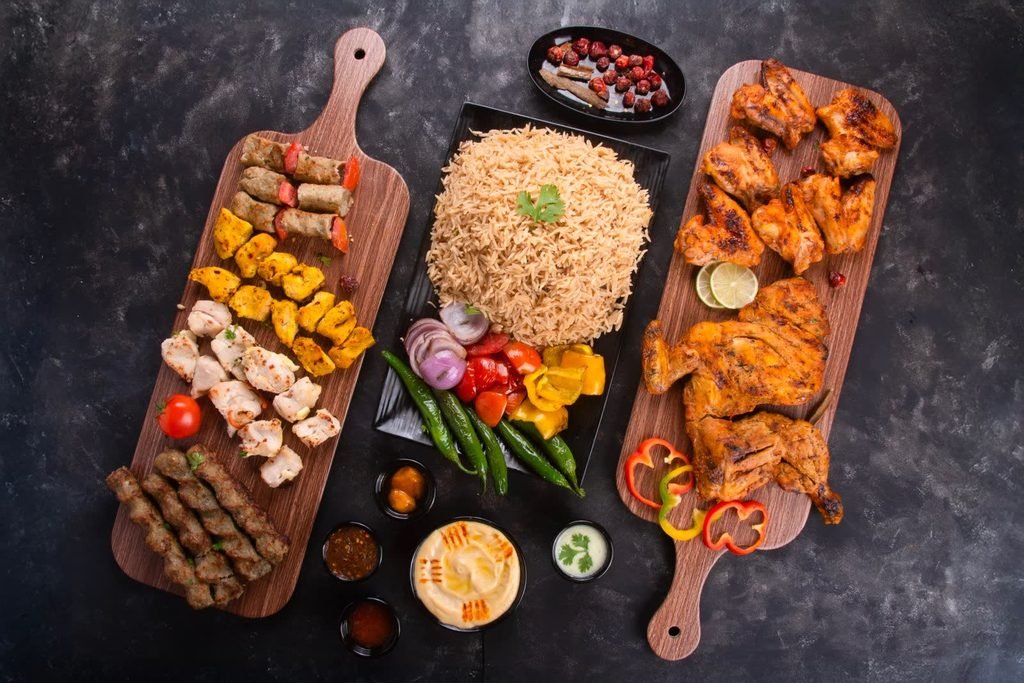
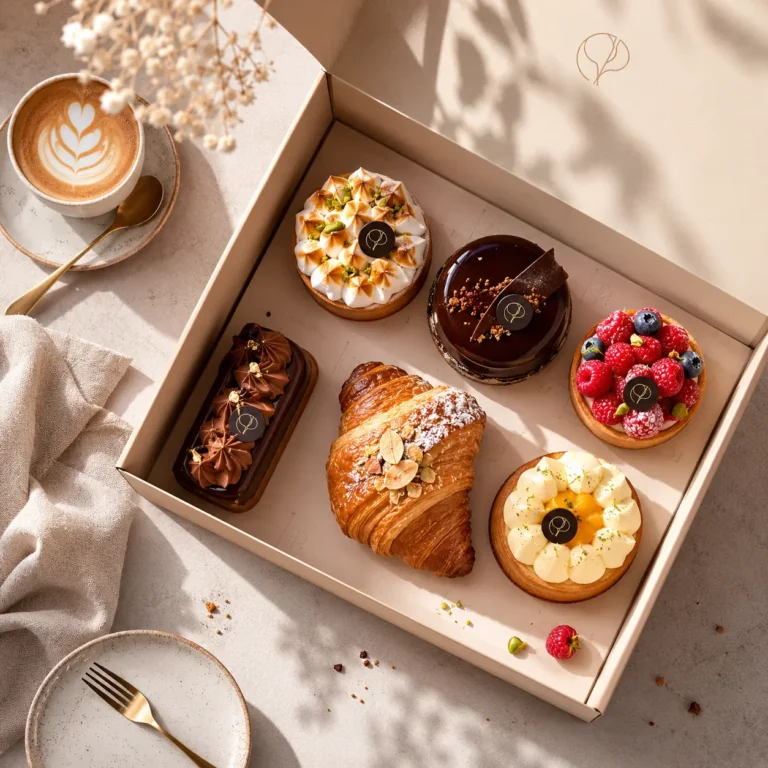
A menu is not one photo, it is a set. That is the thing most people get wrong when they start shooting their own menu photography. One good shot of one good dish is easy. Forty dishes that all look like they belong to the same restaurant, shot in a day or two, is the actual job, and it is where most self-shot menus fall apart.
We shoot menu sets for restaurants and cloud kitchens across the UAE every month, so this is less a list of camera tricks and more the planning and discipline that keeps a whole shoot consistent. Some of it is about the camera. Most of it is about what happens before and after you pick it up.
Start with the menu, not the camera
Before any shooting, print the menu and go through it dish by dish. Group it by category the way a guest reads it: starters, mains, desserts, drinks. For each dish, write down two things, the angle it needs and roughly how long it will hold up once plated. A salad can sit for a few minutes. A soup with foam cannot. That list becomes your shooting order, not the menu's order.
This step is the one people skip, and it is the one that saves the whole shoot. Without it you end up reshuffling dishes mid-shoot, reheating things that have gone cold, and realising at the end that you forgot the side dishes. A shot list turns a chaotic day into a predictable one.
Shoot in batches, not dish by dish
Group dishes by how they need to be shot, not by their order on the menu. Every flat dish, pizzas, salads, rice platters, goes together under the same overhead setup. Every tall or layered dish, burgers, cakes, drinks, goes together under a separate low-angle setup. Switching back and forth between setups for every single dish wastes time and, worse, introduces small inconsistencies in light and framing that guests notice even if they cannot say why.
Flat dishes: shoot straight down
Pizzas, rice platters, salads and spreads read best from directly overhead, where the whole composition is visible at once.
Tall or layered dishes: shoot low
Burgers, stacked desserts and drinks need a low, near eye-level angle to show their height, which is usually the thing that sells them.
Default to three-quarter when a dish does not fit either
Most plated mains sit between the two. A moderate angle that shows both the top and the side of the plate is the safest choice when nothing about the dish is clearly flat or clearly tall, and it is the angle you will use most on an average menu.
Keep the light identical across the whole set
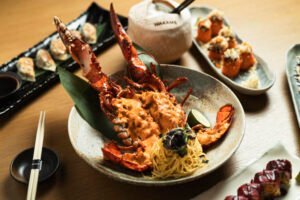
This is the single biggest difference between a menu that looks professional and one that looks homemade. It is not whether any one photo is sharp or well lit, it is whether dish three and dish thirty were lit the same way. If you are shooting over natural light through a window, the light changes as the sun moves, so a menu shot across a whole afternoon will drift in colour from the first dish to the last.
The fix is to lock your setup. Use the same light source, the same distance from it, and the same surface for every dish in a category, and shoot that category in one sitting rather than spreading it across the day. If you are using a phone, set white balance manually once and leave it, rather than letting the phone re-guess it for every shot. Consistency is worth more than any single shot being slightly better lit.
Plan for where the photo will actually be used
A printed menu, a delivery app listing and an Instagram post all crop and frame differently, and a photo shot without that in mind rarely survives the crop cleanly. Leave a little breathing room around the dish rather than filling the frame edge to edge, so there is something to work with when the photo gets cropped square for an app or narrow for a printed column. Keep any text-heavy side of the frame relatively plain too, since digital menus and ads often need space to lay a price or a name over the image.
Delivery platforms are the least forgiving of the three. Our guide to the photo requirements for Talabat, Deliveroo, Careem and noon Food covers the exact sizes and crops each one expects, and our piece on shooting menu photos that sell gets into what actually makes a listing photo convert once it is live.
Shoot hot food fast, cold food last
Order your shoot around how fast each dish changes once it is plated. Anything with steam, foam, melted cheese or ice needs to be photographed within a minute or two of plating, before it loses the look that made it worth ordering. Cold dishes, salads, desserts that do not melt, drinks without ice, can wait. Build your shot list so the kitchen plates the time-sensitive dishes right before you shoot them, and leave the resilient dishes for whenever there is a gap.
A trick worth knowing: if steam matters to a dish and the kitchen is slow that day, a small amount of water misted near the plate just before the shot can bring steam back without faking anything about the food itself.
Style with restraint, and style the same way every time
Props and garnish should repeat across the set, not vary dish to dish. If you are using a particular napkin colour, a particular plate style or a sprig of herb as garnish, decide that once and use it consistently, rather than restyling for every photo. A menu where every photo was styled differently reads as a stock photo collection, not a coherent brand.
Keep the actual portion honest. Shoot the dish as it will really arrive at the table, not a stretched or stacked version of it for the camera. Guests compare the photo to what shows up, and a gap between the two shows up in reviews far more often than restaurants expect.
Edit the whole set together, not one photo at a time
Edit in batches by category rather than photo by photo, adjusting brightness, contrast and white balance once and applying it across the group. This is what actually locks in the consistency you built during the shoot. Editing each photo in isolation, even carefully, tends to introduce small differences that add up once the whole menu is seen side by side online. Keep the edit light. The goal is for the food to look like it did on the plate, not like a different, more saturated version of itself.
A shot list to copy before your next shoot
Before you start, write down the following for the whole menu, not just one dish:
- Every dish, grouped by category, with the angle each one needs.
- A shooting order that puts flat dishes together, tall dishes together, and time-sensitive dishes right before they are plated.
- One lighting setup per category, locked and not changed mid-category.
- A consistent prop and styling choice, written down so it does not drift across a long shoot.
- A note on where each photo will be used, menu, delivery app or social, so framing leaves room for the crop.
None of this takes long to plan, and it is the difference between a menu that looks like one restaurant and a menu that looks like forty separate snapshots stitched together.
When it is worth bringing in a professional shoot
Everything above works whether you are shooting on a phone or a proper camera. What is genuinely hard to replicate without experience is holding that consistency across a long shoot day, dish after dish, while a kitchen is also trying to run service. That is most of what a professional menu shoot is actually paying for: not better looking individual photos, but a whole set that stays identical from the first dish to the last.
If you want to see what that looks like end to end, our menu photography service covers how we plan and run a shoot like this for restaurants across the UAE, and our guide to how many dishes to photograph and guide to how often to reshoot cover the two questions that usually come right after this one. If budget is the open question, our Dubai food photography pricing guide breaks down what actually drives the cost, and our wider how-to guides and insights hub has the rest of the practical pieces on menus and planning.
Frequently asked questions
What is the biggest mistake restaurants make shooting their own menu?
Treating every dish as its own separate photo instead of planning the whole menu as one set. The light, angle and styling drift from dish to dish, and the menu ends up looking inconsistent even when individual photos are fine.
What order should I shoot the menu in?
Group dishes by how they need to be shot, flat dishes together, tall dishes together, and shoot time-sensitive items like soups and steamed dishes right after they are plated. Cold, stable dishes can wait until the end.
Should every dish be shot from the same angle?
No. Flat dishes like pizzas and salads suit an overhead shot, tall or layered dishes suit a low angle, and a three-quarter angle is a safe default for most plated mains that do not clearly fit either.
How do I keep a whole menu looking consistent?
Lock your lighting setup per category and do not change it mid-category, use the same surface and props throughout, and edit the photos in batches rather than one at a time so the colour and brightness stay matched across the set.
Do I need different photos for the printed menu, delivery apps and Instagram?
The same base shot can usually work for all three if you leave margin around the dish while shooting, since each platform crops differently. Delivery apps are the strictest about framing, so check their specific requirements before you shoot if that is the main use.
Planning a menu shoot?
If this is for an actual menu you need shot properly, get in touch with Food On Focus Media and we will plan the shot list with you before a single photo is taken.
Looking at a full relaunch rather than just the menu? See our restaurant launch photography service.
Disclaimer: This article shares general guidance based on Food On Focus Media's experience as a Dubai F&B creative agency. It is for information only and is not a substitute for advice tailored to your specific brand, menu or market.