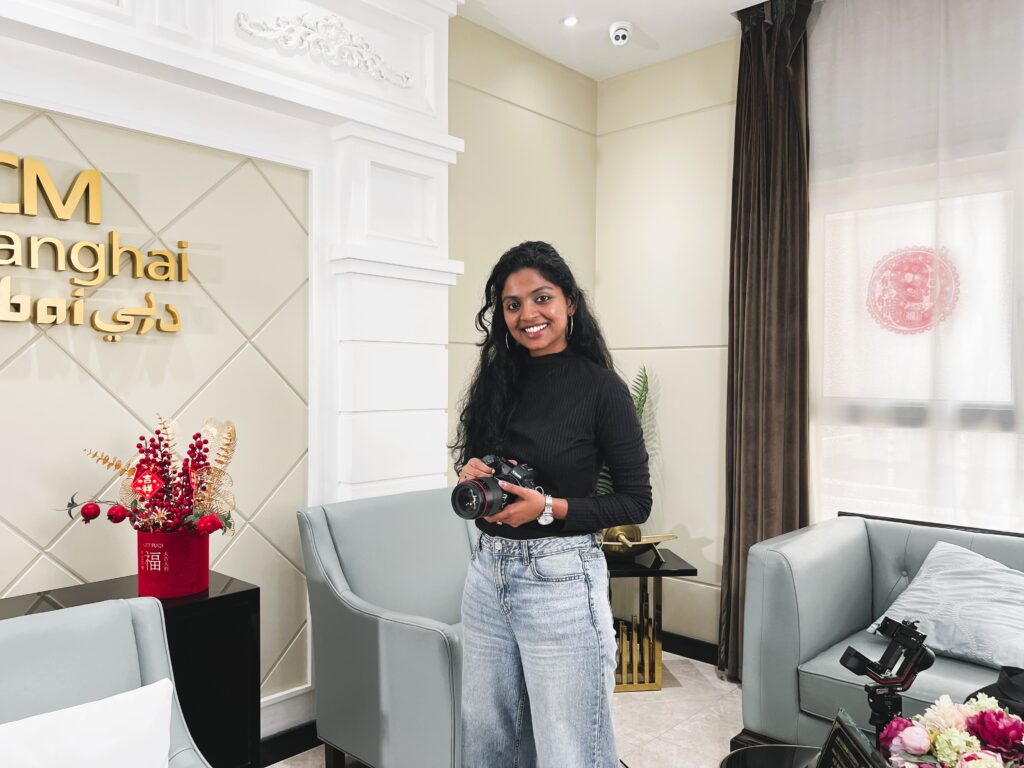
Heyy there 👋 I’m Logeswari, founder of Food on Focus Media and a Professional Food Photographer based in Dubai.
First things first, let me tell you this: I didn’t wake up one day magically knowing how to make a cup of coffee look like it belongs on the cover of a magazine. Nope. I started the way most of you probably did just snapping photos of my food because it looked pretty, only to realize later that the photos didn’t look half as delicious as the dish in front of me.
When I tell people I photograph food for a living, they usually laugh and say, “So you just take pictures of what you eat?” And I always reply, “If only it were that simple!” Because behind every mouthwatering photo, behind every perfectly styled food captures, there’s a whole lot of planning, waiting, styling, and sometimes me lying flat on the floor with my camera trying to get the perfect shot, well maybe sometimes, just kidding!
And that’s when I became obsessed with figuring it out. Why did some photos make me hungry instantly while others fell flat? Over the years, with endless practice, shoots, mistakes (oh yes, a LOT of mist akes), I discovered a few golden rules that completely changed the way I approach food photography.
So, grab a cup of coffee (or a snack, because honestly, by the time you finish reading this you’ll definitely feel hungry 😋), and let me walk you through my go-to tips for Food Photography.
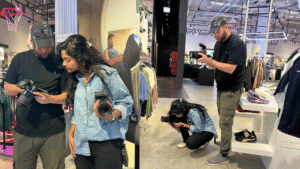
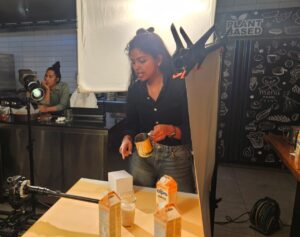
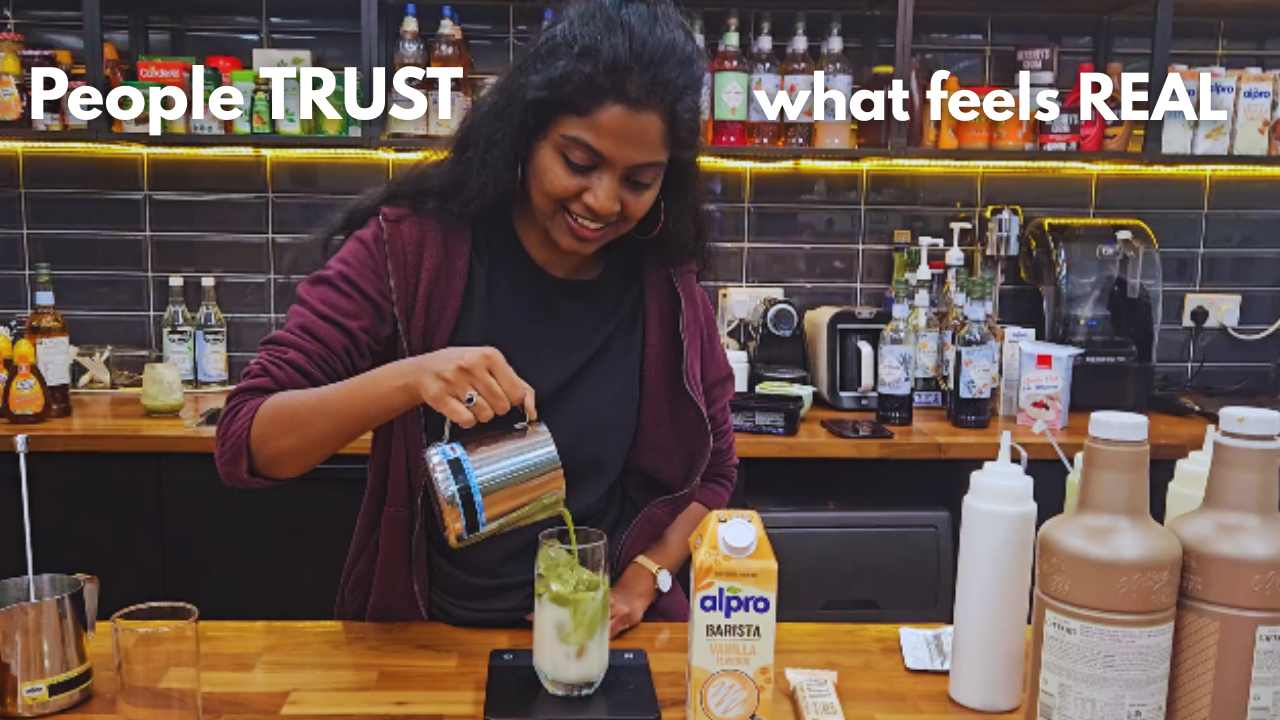
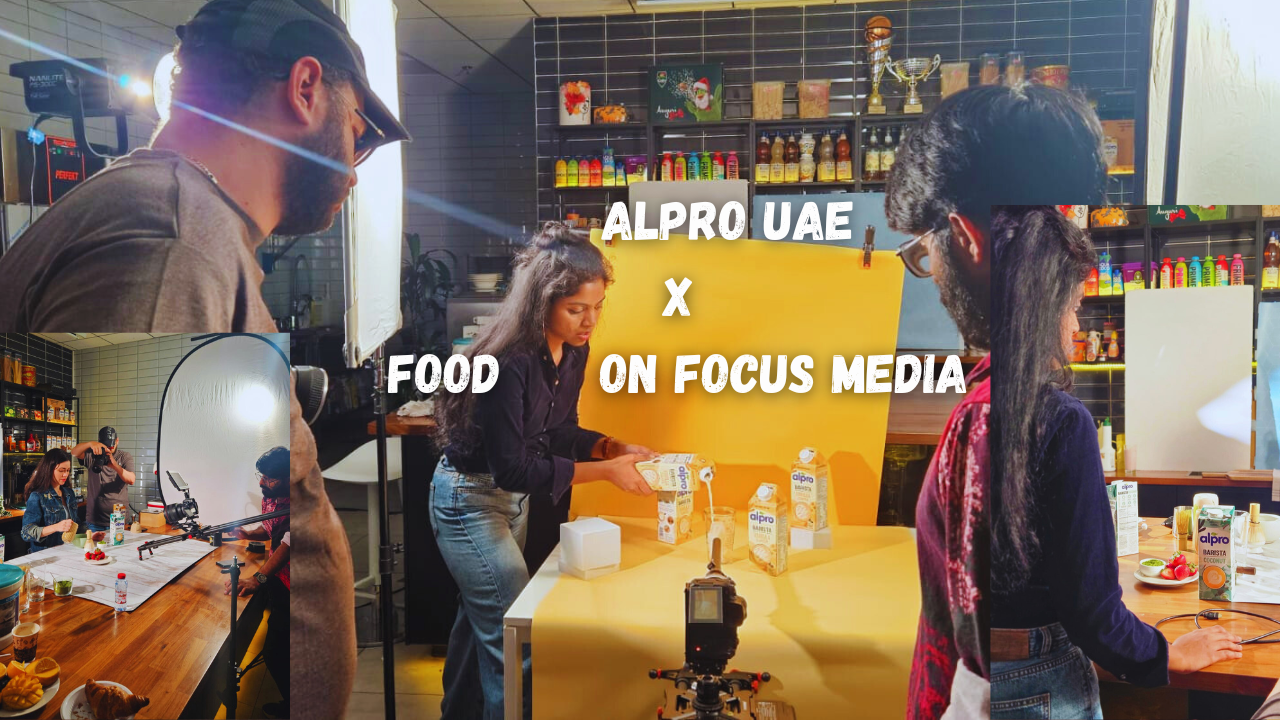
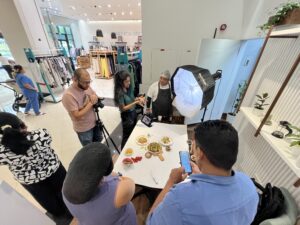
Over time, as Food on Focus Media grew, we didn’t just remain a team of photographers. We evolved into an F&B-focused creative agency, helping cafés, restaurants, cloud kitchens, and homegrown brands tell their stories visually. From menu shoots to full-funnel brand content, we craft visuals that don’t just look good, they convert.
Being deeply rooted in the industry has made us true F&B specialists. We understand how a melting scoop of gelato behaves under lights, the exact moment to capture a pour shot, and what kind of visuals work best for brands competing in Dubai’s fast-paced food scene. It’s not just about clicking a photo, it’s about understanding food, behavior, branding, and how to bring a dish to life for the audience.
My Go-To Tips for Food Photography
1. Natural Light is Everything
Let me tell you something that might surprise you: the fanciest camera in the world won’t save a photo if the lighting is bad. When I first started, I used to get so frustrated, my food would look amazing in real life, but on camera? Dull, flat, lifeless.
Then I discovered the magic of natural light. Not the harsh, mid-day sunlight that creates strong shadows, but soft, diffused daylight. That’s the secret.
I’ll set my dish near a window, let the light spill in, and suddenly, Boom! The textures come alive, the colors pop, and the food looks as fresh as it actually is. If the sun is too strong, I just pull a sheer curtain, or honestly, sometimes I even tape baking paper on the glass. Works like a charm.
So next time you’re shooting, forget about overhead lights or yellow bulbs. Just find a window and let the daylight do the heavy lifting.
2. Angles Change the Story
Every dish has its personality, and i swear it talks to you if you pay attentions. I know that sounds funny, but hear me out.
The dish you are given by the chef, portrays more than just taste, it’s his own handcraft of creativity, patience, skill and deliciousnesss; and bringing out all the flavors, textures, colors into an image is so crucial.
Imagine a big cheesy burger stacked high, shooting it from above won’t show those juicy layers, right? But get down to eye-level, and suddenly it looks like it’s ready to be devoured.
On the other hand, a colorful brunch spread with pancakes, fruits, and coffee cups? That deserves a flat lay from the top, you want to capture everything in one inviting frame.
Here’s my breakdown:
- Flat Lay (90°) → best for spreads, pizzas, salads.
- 45° Angle → perfect for bowls, burgers, pasta.
- Eye-Level → ideal for tall cakes, sandwiches, or drinks.
I never stick to one angle, though. I literally walk around the dish, crouch, lean, tilt my camera, and keep experimenting until I feel, “Yes! This shot makes me hungry.”
3. Props are Your Storytelling Tools
Okay, confession: I used to throw everything onto the table thinking more props = better shot. Big mistake. Props aren’t there to crowd the dish, they’re there to tell a story.
Take a bowl of soup, for example. Alone, it might look plain. But add a spoon, a sprinkle of herbs, maybe a piece of bread on the side and suddenly it feels cozy, like a warm hug on a rainy day.
Or picture a coffee cup. Add some scattered beans, a napkin, maybe even a book in the background, and you’ve instantly created an inviting mood.
But remember, keep it simple. Too many props fight for attention. The hero is always the food. Everything else is just there to support it.
4. Let the Food Be Real
One thing I love about food photography is that imperfection makes it beautiful. The perfect drip of honey, the crumbs from a freshly baked cookie, or the cheese stretching when you pull apart a slice of pizza those little “messy” moments are what make people’s mouths water.
When I was starting out, I used to wipe everything clean and make it spotless. And guess what? The photos looked lifeless. Too perfect. Too staged.
Now, I let the food breathe. I let the chocolate sauce drip, I let the steam rise, I let the crumbs scatter a little. It feels natural. It feels human. And that’s what makes people crave the food through the screen.
Pro tip: If you’re shooting something hot and want to capture steam but it disappears too quickly, here’s a little secret wet some cotton balls, microwave them, and hide them behind the dish. Instant steam effect!
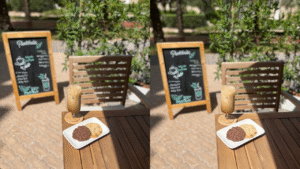
5. Color is Your Friend
Food is already colorful, but knowing how to balance it makes all the difference.
A vibrant green salad looks amazing against a neutral, earthy background. A creamy bowl of oatmeal can look boring until you add pops of color with berries, nuts, or edible flowers.
I like to think in terms of the color wheel. Contrasting colors (like orange and blue) make dishes pop, while similar tones (like greens and yellows) create harmony.
Here’s my simple trick: if the dish itself is colorful, keep props muted. If the dish is plain, let the props and garnishes bring it to life.
6. Edit with a Light Hand
Editing is like seasoning. A pinch here, a dash there, it enhances the dish. But overdo it, and you ruin the flavor.
I brighten my photos a little, adjust the contrast, fix the white balance (so whites look white, not yellow), and clean up tiny distractions. That’s it.
The goal is simple: make the food look as close to real life as possible. If your editing makes the dish look fake or plastic-y, step back. Food should always look edible, not like a cartoon.
7. Patience = Magic

Food photography isn’t just click-and-go. Behind every single “perfect” shot is patience. I’ve spent 30 minutes waiting for honey to drip in just the right way. I’ve clicked the same cake slice 100 times until I caught the angle I loved.
But honestly? I enjoy the process. Food has its own rhythm. Ice cream will melt, cheese will stretch, steam will fade. You can’t rush it—you just work with it. And that’s where the magic happens.
Wrapping It Up
So, here’s the truth: “Food Photography isn’t about chasing perfection it’s about capturing feeling”
If someone looks at your photo and instantly feels hungry, or cozy, or curious, you’ve done your job. It’s less about fancy gear and more about your eye, your creativity, and your patience.
So next time you sit down with your plate, don’t just eat it right away (I know, it’s hard 😅). Take a moment. Find the light. Play with angles. Add a prop or two. And click.
Trust me, with a little practice, your food photos will go from “just okay” to “wow, I need to eat this right now.”
Now go on, grab your phone or camera, and start shooting. And hey, if you do, tag me @logeswarikm on IG. I’d love to see what you’re cooking and capturing!
Happy Shooting,
Logeshwari
Founder, Food on Focus Media